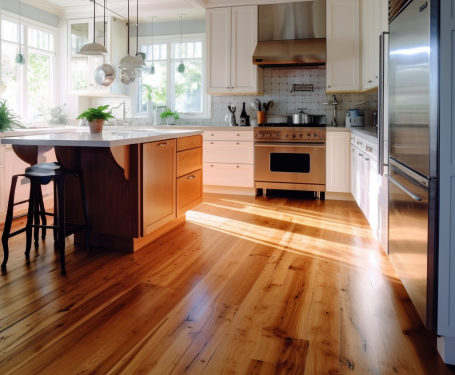
How to Refresh and Restore Worn-Out Wood Floors
Wood floors are known for their timeless beauty and durability, but over time, even the sturdiest floors can show signs of wear and tear. From scratches to dull finishes, worn-out wood floors can detract from the overall appearance of your home. The good news is that refreshing and restoring them is possible without needing a full replacement. In this post, we’ll walk you through the steps to bring your wood floors back to life.
1. Assess the Condition of Your Floors
Before starting the restoration process, take a close look at your floors to determine the extent of the damage. Are there deep scratches, stains, or just surface-level wear? Is the finish dull or peeling? Identifying these issues will help you decide the best restoration method.
If the damage is minor, a simple cleaning and buffing may be enough. However, for deeper scratches or worn finishes, you may need to sand and refinish the floor.
2. Clean and Prep the Floors
Start by thoroughly cleaning the floor to remove dirt, dust, and grime. Use a wood-safe floor cleaner and a soft mop to avoid scratching the surface. Cleaning helps you see the actual condition of the wood and prepares it for the restoration process.
After cleaning, inspect the floor for any loose boards, nails, or other imperfections that need attention before proceeding.
3. Sanding the Floors
If your floors are significantly worn or scratched, sanding is the next step. Sanding removes the damaged layer of wood and prepares the surface for a new finish. Use a drum sander for large areas and an edge sander for corners and edges.
Tip: Always sand in the direction of the wood grain to avoid scratches. Start with a coarse-grit sandpaper and gradually move to a finer grit for a smooth finish.
4. Staining the Wood (Optional)
If you want to change the color of your wood floors or enhance their natural beauty, now is the time to apply a stain. Stains come in a variety of colors, from light natural tones to dark, rich hues.
After sanding, apply the stain evenly using a clean cloth or brush, wiping away any excess as you go. Let the stain dry completely before moving on to the next step.
5. Applying a New Finish
The final step in restoring your wood floors is applying a protective finish. Finishes come in several types, including oil-based, water-based, and wax finishes. The finish protects the wood from future damage and gives it a beautiful sheen.
Apply the finish using a brush or applicator pad, and let it dry according to the manufacturer’s instructions. For the best results, apply multiple coats, sanding lightly between each coat for a smooth finish.
6. Buffing and Polishing
Once the finish is dry, buff and polish the floors to achieve a high-gloss, professional look. You can rent a floor buffer from most hardware stores or hire a professional if you’re not comfortable doing it yourself.
Restoring worn-out wood floors can be a cost-effective way to revive the beauty of your home. With the right tools, materials, and steps, you can bring your old floors back to life and enjoy their timeless appeal for years to come.


