
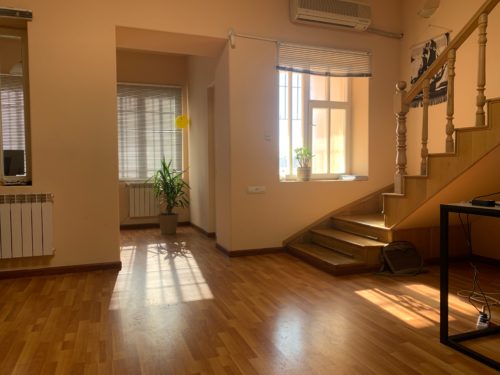
7 expert hardwood flooring installation tips
Hardwood floors are a beautiful and classic addition to any home, but they can be tricky to install. If you’re planning on tackling the job yourself, there are a few things you should know before you get started. Let’s take a look at some of our favorite hardwood flooring installation tips, so you can get the job done right.
1. Choose the right wood.
Depending on the look you’re going for and the level of traffic in your home, you’ll want to choose the right type of wood. For example, if you’re looking for a durable option that can stand up to kids and pets, you’ll want to choose a harder wood like maple or oak. If you’re going for a more elegant look, you might opt for a softer wood like cherry or walnut.
Continue Learning: Can you use bleach on hardwood flooring?
2. Prep your subfloor.
Before you install your hardwood floors, it’s important to make sure your subfloor is in good condition. If there are any cracks or uneven spots, now is the time to fix them. This will help ensure that your floors are level and look great once they’re installed.
Continue Learning: How long does laminate wood flooring last?
3. Start with a straight line.
When you start installing your hardwood floors, it’s important to start with a straight line. This will help ensure that the rest of your flooring is installed evenly and looks its best. Use a chalk line or laser level to draw a straight line on your subfloor before you begin laying down your boards.
Continue Learning: How to clean laminate wood floors without leaving streaks
4. Lay the boards perpendicular to the floor joists.
Once you have your starting line, it’s time to start laying down your boards. For stability and strength, it’s important to lay the boards perpendicular to the floor joists (the beams that support your floor). Begin at one end of the room and work your way towards the other, making sure that each board is snug against the one before it.
Continue Learning: How to get paint off wood floors
5. Nail or screw each board into place.
To keep your hardwood floors from moving around, you’ll need to nail or screw each board into place using either finishing nails or deck screws. Sink each nail or screw into the board at an angle so that it doesn’t split the wood.
Continue Learning: How to combine tile and wood flooring
6. Fill in gaps with wood putty.
Once all of your boards are in place, there may be some small gaps between them. These gaps can be filled with wood putty, which comes in different colors so that it can match your floors.
Continue Learning: What is the most durable type of wood flooring?
7. Stain or seal your floors.
Once all of the gaps are filled, it’s time to stain or seal your newly installed hardwood floors. This will protect them from scratches, spills, and everyday wear and tear.
Continue Learning: How to fix scratched wood floors